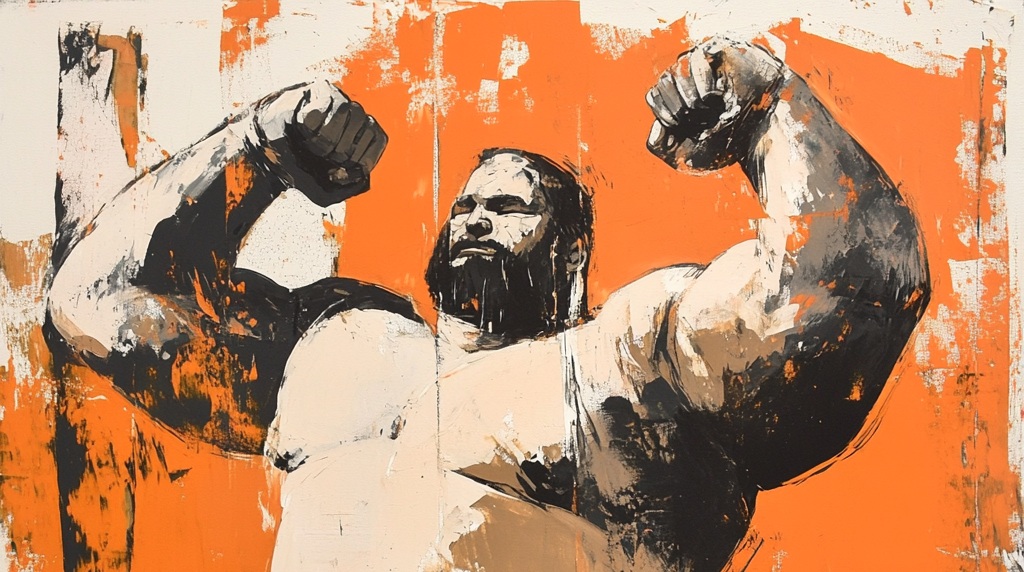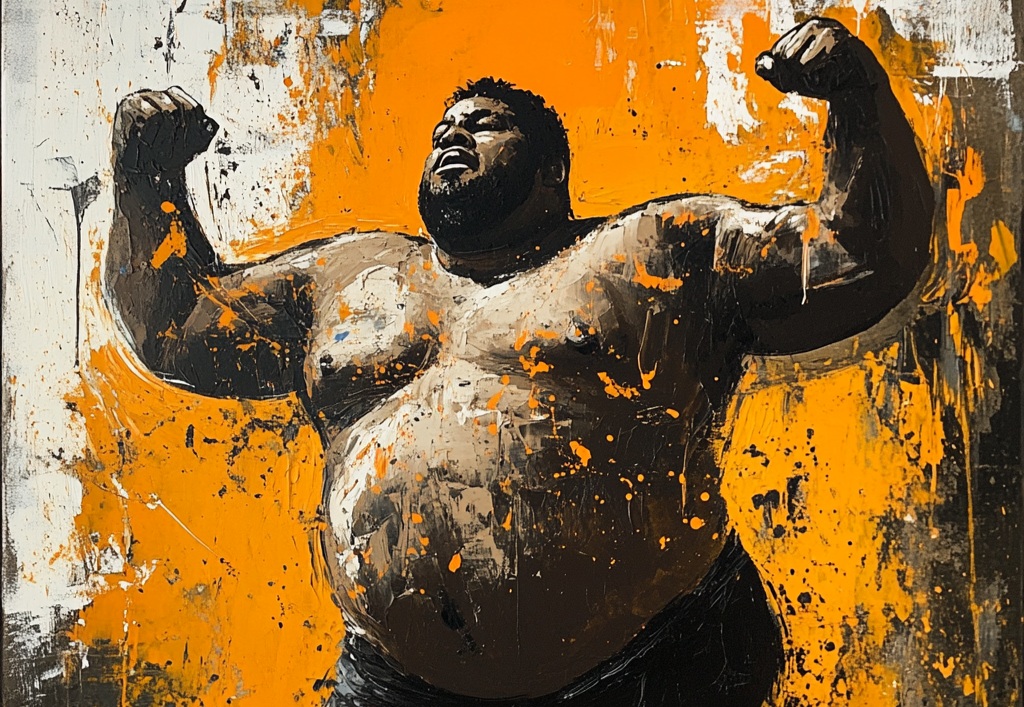
When the temperature drops and daylight fades early, most people slow down — and it’s understandable. But for plus-size men, staying active during the winter months isn’t just about weight management or appearance. It’s about mobility, cardiovascular health, mood stability, and maintaining hard-earned progress when motivation is lowest.
Cold weather workouts require planning — not punishment. Whether you train outdoors, in a garage gym, or from home, this guide breaks down everything you need to know to stay consistent, safe, and confident when the weather turns against you.
The Case for Winter Fitness: Why You Should Keep Moving
Winter is notorious for slowing progress. Between holiday meals, darker evenings, and low energy levels, it’s easy to let routines slide. But the body pays a price for inactivity.
For plus-size men, consistent exercise during cold months helps:
- Maintain joint function: Colder air constricts muscles and can increase stiffness in knees, hips, and lower backs. Movement restores circulation and flexibility.
- Boost cardiovascular health: Moderate exercise helps regulate blood pressure and supports heart efficiency — a key factor for larger bodies.
- Regulate mood: Physical activity increases serotonin and endorphins, reducing symptoms of seasonal affective disorder (SAD).
- Preserve muscle mass: When activity drops, muscle tone and metabolism decrease rapidly. Strength training and movement slow that decline.
Skipping winter workouts doesn’t just pause progress — it sets you back physically and mentally. Staying consistent keeps momentum alive.
Understanding Cold Weather Physiology for Larger Frames
Cold air changes how your body performs. Muscles tighten faster, oxygen uptake is slower, and energy expenditure can actually increase as your body fights to stay warm.
For plus-size men, these changes can amplify existing challenges:
- Increased strain on joints: Extra body mass plus cold-induced stiffness can make mobility tougher.
- Thermoregulation differences: Larger men retain heat longer, meaning overheating is a bigger risk even in freezing weather.
- Respiratory strain: Cold, dry air can irritate airways, especially for those new to outdoor cardio.
Knowing these differences helps you modify routines — not abandon them.
Layering Like a Pro: The Science of Staying Warm (and Dry)
Layering isn’t just about piling on clothing; it’s about temperature regulation and moisture control. Overheating leads to sweating, which chills you quickly once your body cools down.
Here’s the ideal layering strategy for plus-size men:
- Base Layer: Wear a sweat-wicking material such as merino wool or polyester. Avoid cotton at all costs — it traps moisture and increases chill risk.
- Mid Layer: Add an insulating but breathable layer — lightweight fleece or softshell jackets work best.
- Outer Layer: A waterproof or wind-resistant shell blocks the elements without restricting movement.
- Accessories: A good beanie, touchscreen gloves, and breathable neck gaiter help maintain comfort.
Titan Tip: Choose compression-style base layers designed for larger builds. They reduce chafing and increase blood flow, making workouts more comfortable.
Related: Layering for Big & Tall Men: How to Stay Warm Without Looking Bulky
Warming Up: Your Shield Against Injury
Jumping into a cold-weather workout without a proper warm-up is a recipe for strains. Warm-ups increase blood flow, elevate core temperature, and prepare connective tissues for stress.
Here’s an 8-minute dynamic warm-up tailored for larger builds:
- March in place – 60 seconds
- Arm circles and shoulder rolls – 90 seconds
- Torso twists – 60 seconds
- Bodyweight squats or modified lunges – 2 minutes
- Hip rotations and ankle rolls – 2 minutes
- High-knee march or light jog – 90 seconds
You should feel slightly warm and loose, not fatigued, before starting your workout.
Outdoor Training Options That Actually Work
If you enjoy the outdoors, you don’t have to give it up in the cold. Just focus on low-impact, sustainable activities that won’t punish your joints.
1. Brisk Walking or Hiking
Walking in cold weather burns more calories due to thermogenesis — the body’s heat-production process. Add elevation or resistance (like hills or trekking poles) for intensity.
2. Weighted Vest Walks
This builds endurance while strengthening the lower body. Start light — 5–10% of your body weight is plenty.
3. Resistance Band Circuits
Bands are portable, joint-friendly, and perfect for outdoor circuits. Combine upper and lower movements (rows, presses, squats) for full-body conditioning.
4. Sled or Tire Drags
Perfect for driveways or small outdoor spaces. Mimics strongman-style training and builds real-world functional strength.
Titan Tip: When training outdoors, avoid all-cotton socks and invest in moisture-wicking, thermal pairs. Foot comfort can make or break your session.
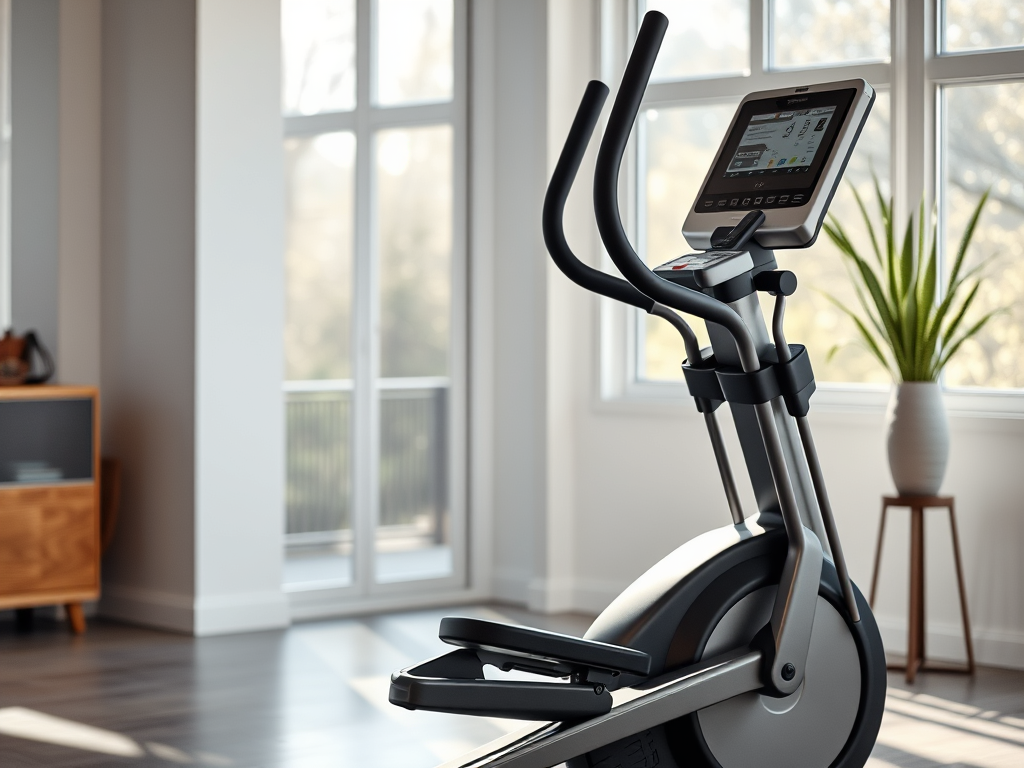
Indoor Alternatives: Training Smarter When It’s Too Cold
When frostbite warnings hit, bring the workout indoors. You can still maintain strength and cardiovascular fitness with minimal equipment.
1. Rowing Machine
A low-impact, full-body workout that improves endurance and posture. Ideal for men managing knee or back discomfort.
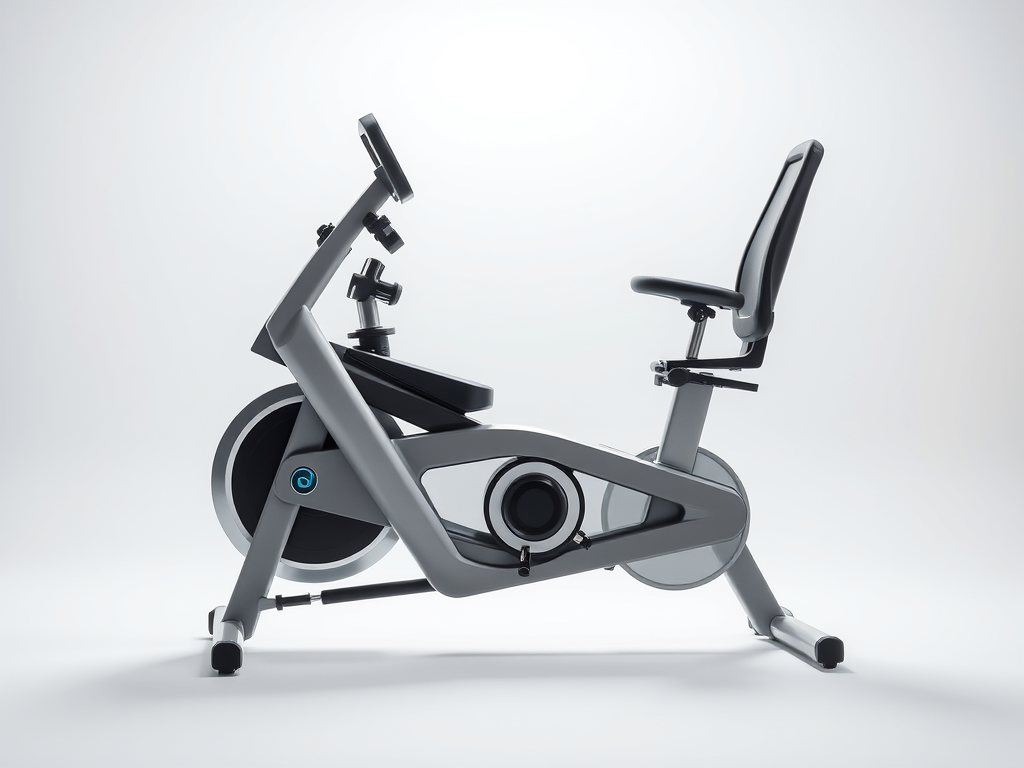
2. Air Bike or Recumbent Bike
Gentle on joints, but highly effective for fat-burning and conditioning.
3. Bodyweight Strength Circuits
Use squats, modified push-ups, and step-ups. Add resistance bands for progression.
4. Free Weights or Kettlebells
Focus on compound lifts: squats, presses, rows, and deadlifts. These support metabolism and total strength.
Titan Tip: Track workouts with small, achievable goals — like total minutes of movement per week — to keep momentum strong through the season.
Related: Best Cardio Machines for Overweight Beginners: Which One Should You Start With?
Winter Nutrition and Hydration
Cold weather reduces thirst cues, but hydration remains crucial for muscle recovery and joint function.
- Drink water consistently — 2–3 liters daily is still the goal.
- Eat protein-rich meals to preserve lean mass.
- Include complex carbs (like oats, lentils, sweet potatoes) for energy in colder months.
- Don’t neglect healthy fats — they support hormone balance and joint lubrication.
Titan Tip: Soups and stews are excellent winter recovery meals — hydrating, nutrient-dense, and comforting.
Mindset: The Real Secret to Consistency
The hardest part of winter fitness isn’t the cold — it’s the mindset. Motivation fades when sunlight does. That’s why discipline and habit matter more than willpower.
To stay consistent:
- Schedule workouts like meetings — non-negotiable and time-bound.
- Set process goals, not appearance goals. (Example: “Move four times this week.”)
- Join online groups for accountability or start a 30-day winter challenge.
- Reward yourself with progress, not perfection.
Remember: you don’t have to crush every session — you just have to show up.
Final Thoughts
Winter training for plus-size men isn’t about grinding harder — it’s about adapting smarter. Dress for success, warm up properly, hydrate even when you don’t feel thirsty, and give yourself credit for consistency.
Whether it’s a quick garage workout, a snowy park walk, or an early morning session before work, each step builds resilience — physical and mental.
When spring returns, you won’t be starting over. You’ll be stronger, steadier, and ready to dominate the new season.